![]()
Beautiful Plants For Your Interior
![]()
Beautiful Plants For Your Interior
Signal interference is a common problem for musicians and sound engineers. Whether originating from electrical devices, faulty cables, or ground loops, these interferences impair sound quality and complicate the recording process. Identifying the source, understanding its origins, and finding solutions for elimination are crucial steps in preserving the audio signal.
Electromagnetic Interference (EMI) refers to disturbances that affect and alter the audio signal from a musical instrument or other device. These unwanted signals can degrade the produced signal to varying degrees. Numerous electrical devices generate EMI, including radio transmitters, cellular networks, ignition systems, Wi-Fi, Bluetooth, microwave ovens, fluorescent lights, dimmers, and many others.
When these systems are energized, they produce electromagnetic interference that can disrupt an audio signal. These are often the most challenging interferences to identify, originating from various sources unrelated to the audio recording process.
Locating the EMI source depends on its origin. For example, radio transmitters can disrupt a signal. This occurs when a musician’s amplifier picks up an FM radio signal; unfortunately, there aren’t many solutions in such cases. Writing the station and asking them to cease broadcasting isn’t feasible. However, such interference is often location-dependent; if the musician plays in a different environment, the interference will cease.
Many EMI-generating devices are more complex. Any electrical device can be a source of electromagnetic interference: from a faulty heating system to outdated television sets. We have encountered EMI from newly installed LED lighting in recording studios, possibly resulting from faulty design. Patience and deductive reasoning are key to identifying the source. Sometimes, the orientation of the musical instrument can influence the amount of noise; an alternative setup minimizing interference may be found.
Certain devices connected to the same electrical system can generate electrical interference, disrupting the audio signal. This issue frequently stems from high-power electrical devices like refrigerators, ovens, stoves, or heaters. Identifying them often requires systematically turning devices on and off one at a time.
Outdated electrical systems can also pose problems. Some buildings lack grounding, a design feature from earlier construction periods. Have you encountered a friend living in an older building without proper electrical grounding? An amplifier plugged into such a system is likely to introduce unwanted electrical humming.
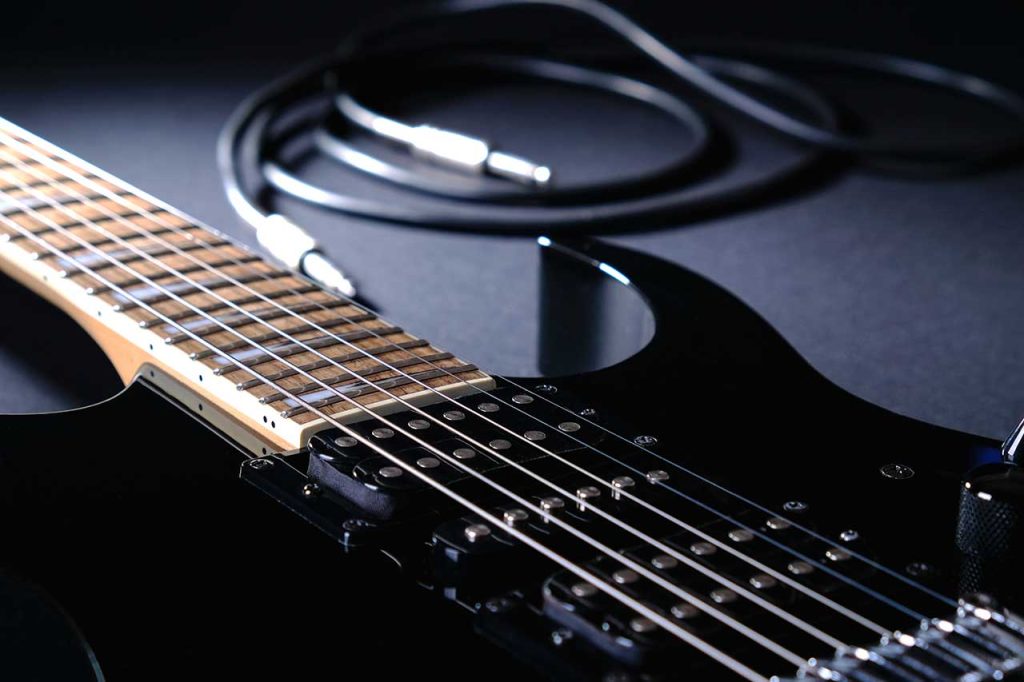
Faulty cables generate unwanted noise. Cables degrade over time and can develop internal connectivity issues.
There are asymmetrical and symmetrical audio cables. In music, asymmetric jack cables are prevalent, having two inner wires: one for transmitting the signal and one for ground. Despite their shielding, these cables are susceptible to interference, acting as aerials which amplify any noise. Longer cables generally amplify noise more.
Shielding helps eliminate extraneous noise that can disrupt a musical instrument’s signal. It isolates electronic components with a protective barrier to neutralize electromagnetic interference. Insufficient or faulty shielding often leads to unwanted noise. Identifying a shielding problem is often straightforward: if touching metal parts (strings, output jack, potentiometers, etc.) reduces noise, a shielding issue is likely present. We have written a dedicated article on shielding techniques. You can find a comprehensive discussion on the role of shielding in electric guitar construction within this article.
Ground loops occur between two or more devices not properly grounded. They produce constant humming, unaffected by volume adjustments. Ground loops are quite common – a prime cause is plugging components into different electrical outlets. Variations in electrical potential can cause a hum. Prioritize connecting all equipment to the same electrical outlet.
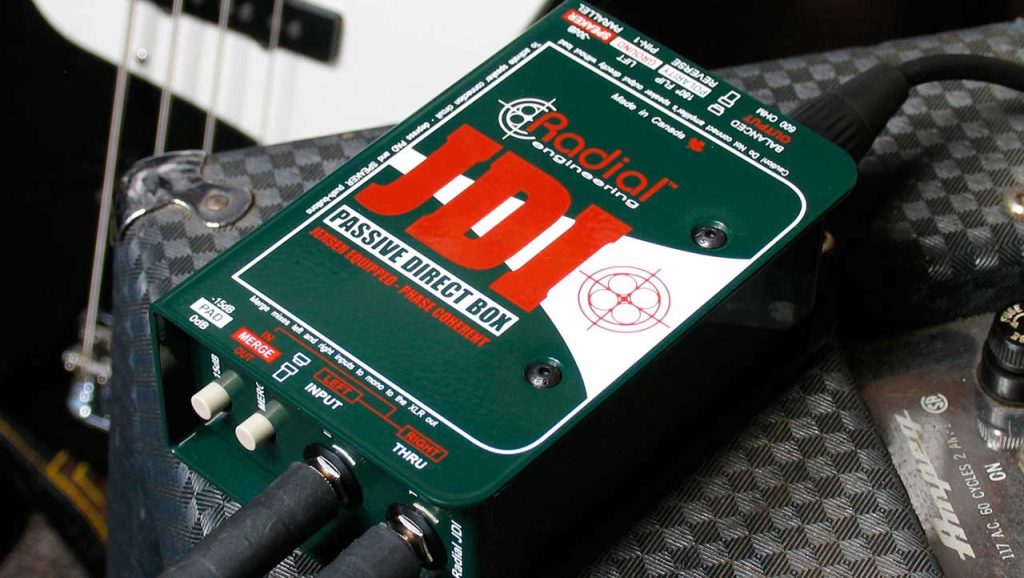
A common solution in music is using a DI box between the instrument and the mixing table. It often includes a “Ground Lift” switch to nullify potential ground loop issues. Always place the DI box at the end of the signal chain, before connection to the mixer. Some effect processors and preamps also feature ground lift switches, but these often function only with XLR connections, not with standard jack cables.
Ground loop isolators are also available, using inductors to store energy in a magnetic field when electrical current flows. If the current changes, the inductor resists these fluctuations, preserving a consistent current, effectively eliminating the ground loop.
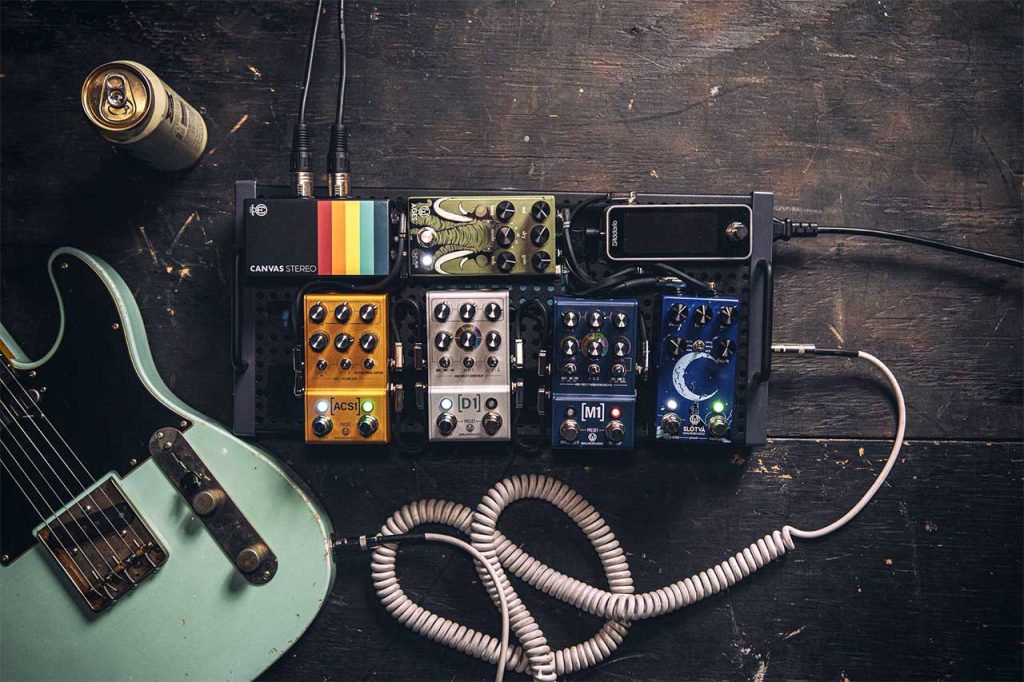
Substandard power supplies are another source of audio interference and noise. We have addressed powering a multi-effects pedalboard in a previous article. This describes different power options for effects units. A few potential issues to consider include:
If all other possibilities are exhausted, a pedal or other component in the signal chain might be defective. Troubleshooting involves independent and series testing of individual gear to isolate the faulty element. Important points to remember:
While electromagnetic and electrical interference are sometimes unavoidable, their impact on sound quality is often manageable with proper precautions and solutions. Thorough investigation of each element within the signal chain is essential for maintaining optimal audio quality. Always test each piece of equipment to zero in on the source of any spurious noise. You now have the fundamentals to identify and work towards resolving audio interference issues!
Sources: Wikipedia, Musicians